
How to Install a Slim Relay Socket on a DIN Rail, Step by Step
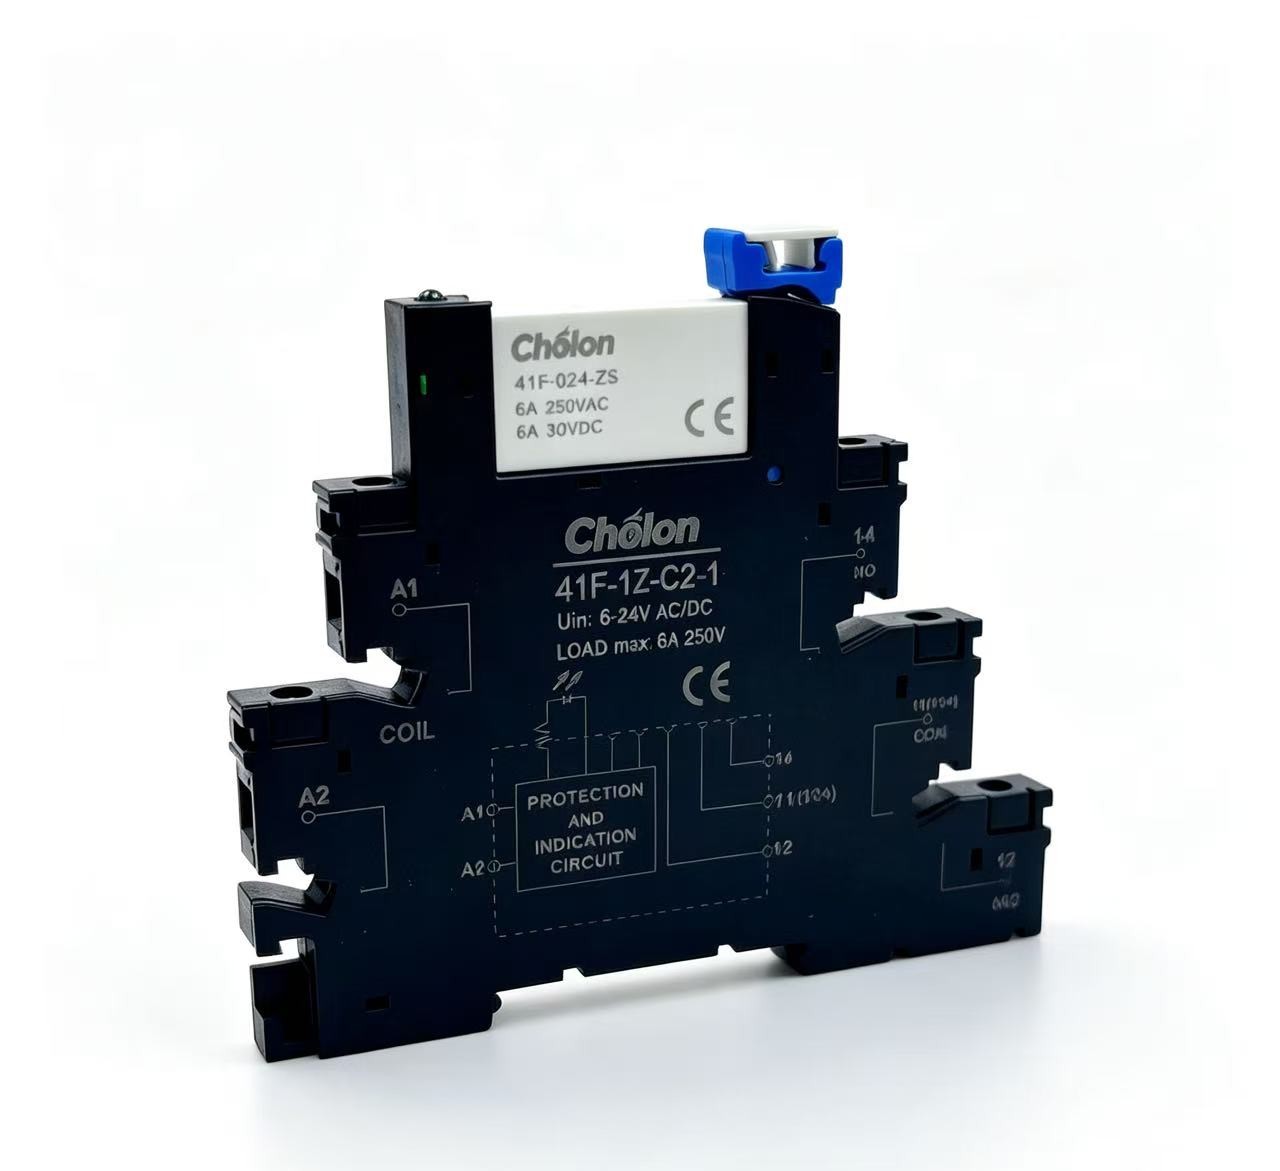
Installing a slim relay socket is a short job, but it is worth doing properly. A socket that is clipped on firmly, wired to the right torque and checked before switch-on will give years of trouble-free service. This guide walks through the installation of the CHOLON 41F-1Z-C2 step by step.
Before you start
Make sure the control panel power is off and the circuit cannot be switched on while you work. Gather everything you need before you open the cabinet:
- The 41F-1Z-C2 socket and the matching 41F slimline interface relay module
- A screwdriver that fits the M3 screw terminals
- A wire stripper and the control wires for the circuit
- A torque screwdriver, if one is available, for the final tightening check
Plan the layout first. Because the socket is slim, many channels can sit side by side on one rail — decide the order of the channels and leave the marking tag positions clear before you start clipping sockets on.
Step 1: Clip the socket onto the DIN rail
Hold the socket at a slight angle and hook its upper edge over the top of the DIN rail. Then press the lower part of the socket toward the rail until it clicks into place. Give the socket a gentle tug: it should sit firmly on the rail with no play. If it moves, remove it and clip it on again — a loose socket is a fault waiting to happen.
Step 2: Connect the wiring
Strip each wire to a clean, even length and insert it fully into the M3 screw terminal. Tighten the screw to the specified 0.6 N·m tightening torque. This value matters: too loose and the connection can heat up or work free under vibration; too tight and the terminal or the wire can be damaged.
After tightening, tug each wire lightly to confirm it is held. A wire that pulls out now is a five-second fix; a wire that pulls out after the panel is closed is a fault-finding job. Keep the wiring neat and routed so that no wire is pulled tight across the socket.
Step 3: Plug in the relay module
With the socket wired, align the pins of the 41F slimline interface relay module with the socket and press it in evenly until it is fully seated. Do not force it — if it does not slide in smoothly, check the pin alignment and try again. The relay should sit flush and straight in the socket.
Step 4: Final checks
Before switching the power back on, run through this short checklist:
- Every socket is firmly clipped to the DIN rail.
- Every terminal is tightened to 0.6 N·m and every wire passes the tug test.
- The relay modules are fully seated and straight.
- No stray wire strands are bridging neighbouring terminals.
- Marking tags are in place so each channel can be identified later.
Then power up and test each channel. If a channel does not switch, check the wiring at the socket first — most installation faults are found there.
A tidy panel stays reliable
Good installation habits pay off over the life of the panel. Separation plates keep groups of sockets apart, marking tags make fault-finding fast, and bridge bars can share a common supply across neighbouring sockets without extra wiring. The 41F-1Z-C2, rated at 6A / 300VAC with a dielectric strength of ≥ 2500 V, a PA6 housing and H62 brass connecting pieces, is built for this kind of everyday panel work — installed carefully, it simply does its job, channel after channel.
The same steps hold across the 41F slim relay format — the class that includes the Hongfa HF41F — because mounting and wiring follow the same 6.2 mm DIN-rail pattern.
Need the full datasheet or samples of the 41F-1Z-C2? Contact us any time — details below.
Questions about this product?
Wenzhou Qiaozhilong Electric Co., Ltd. · E-mail: selinaye0812@gmail.com · Tel / WhatsApp: +86-13396957276